Introduction
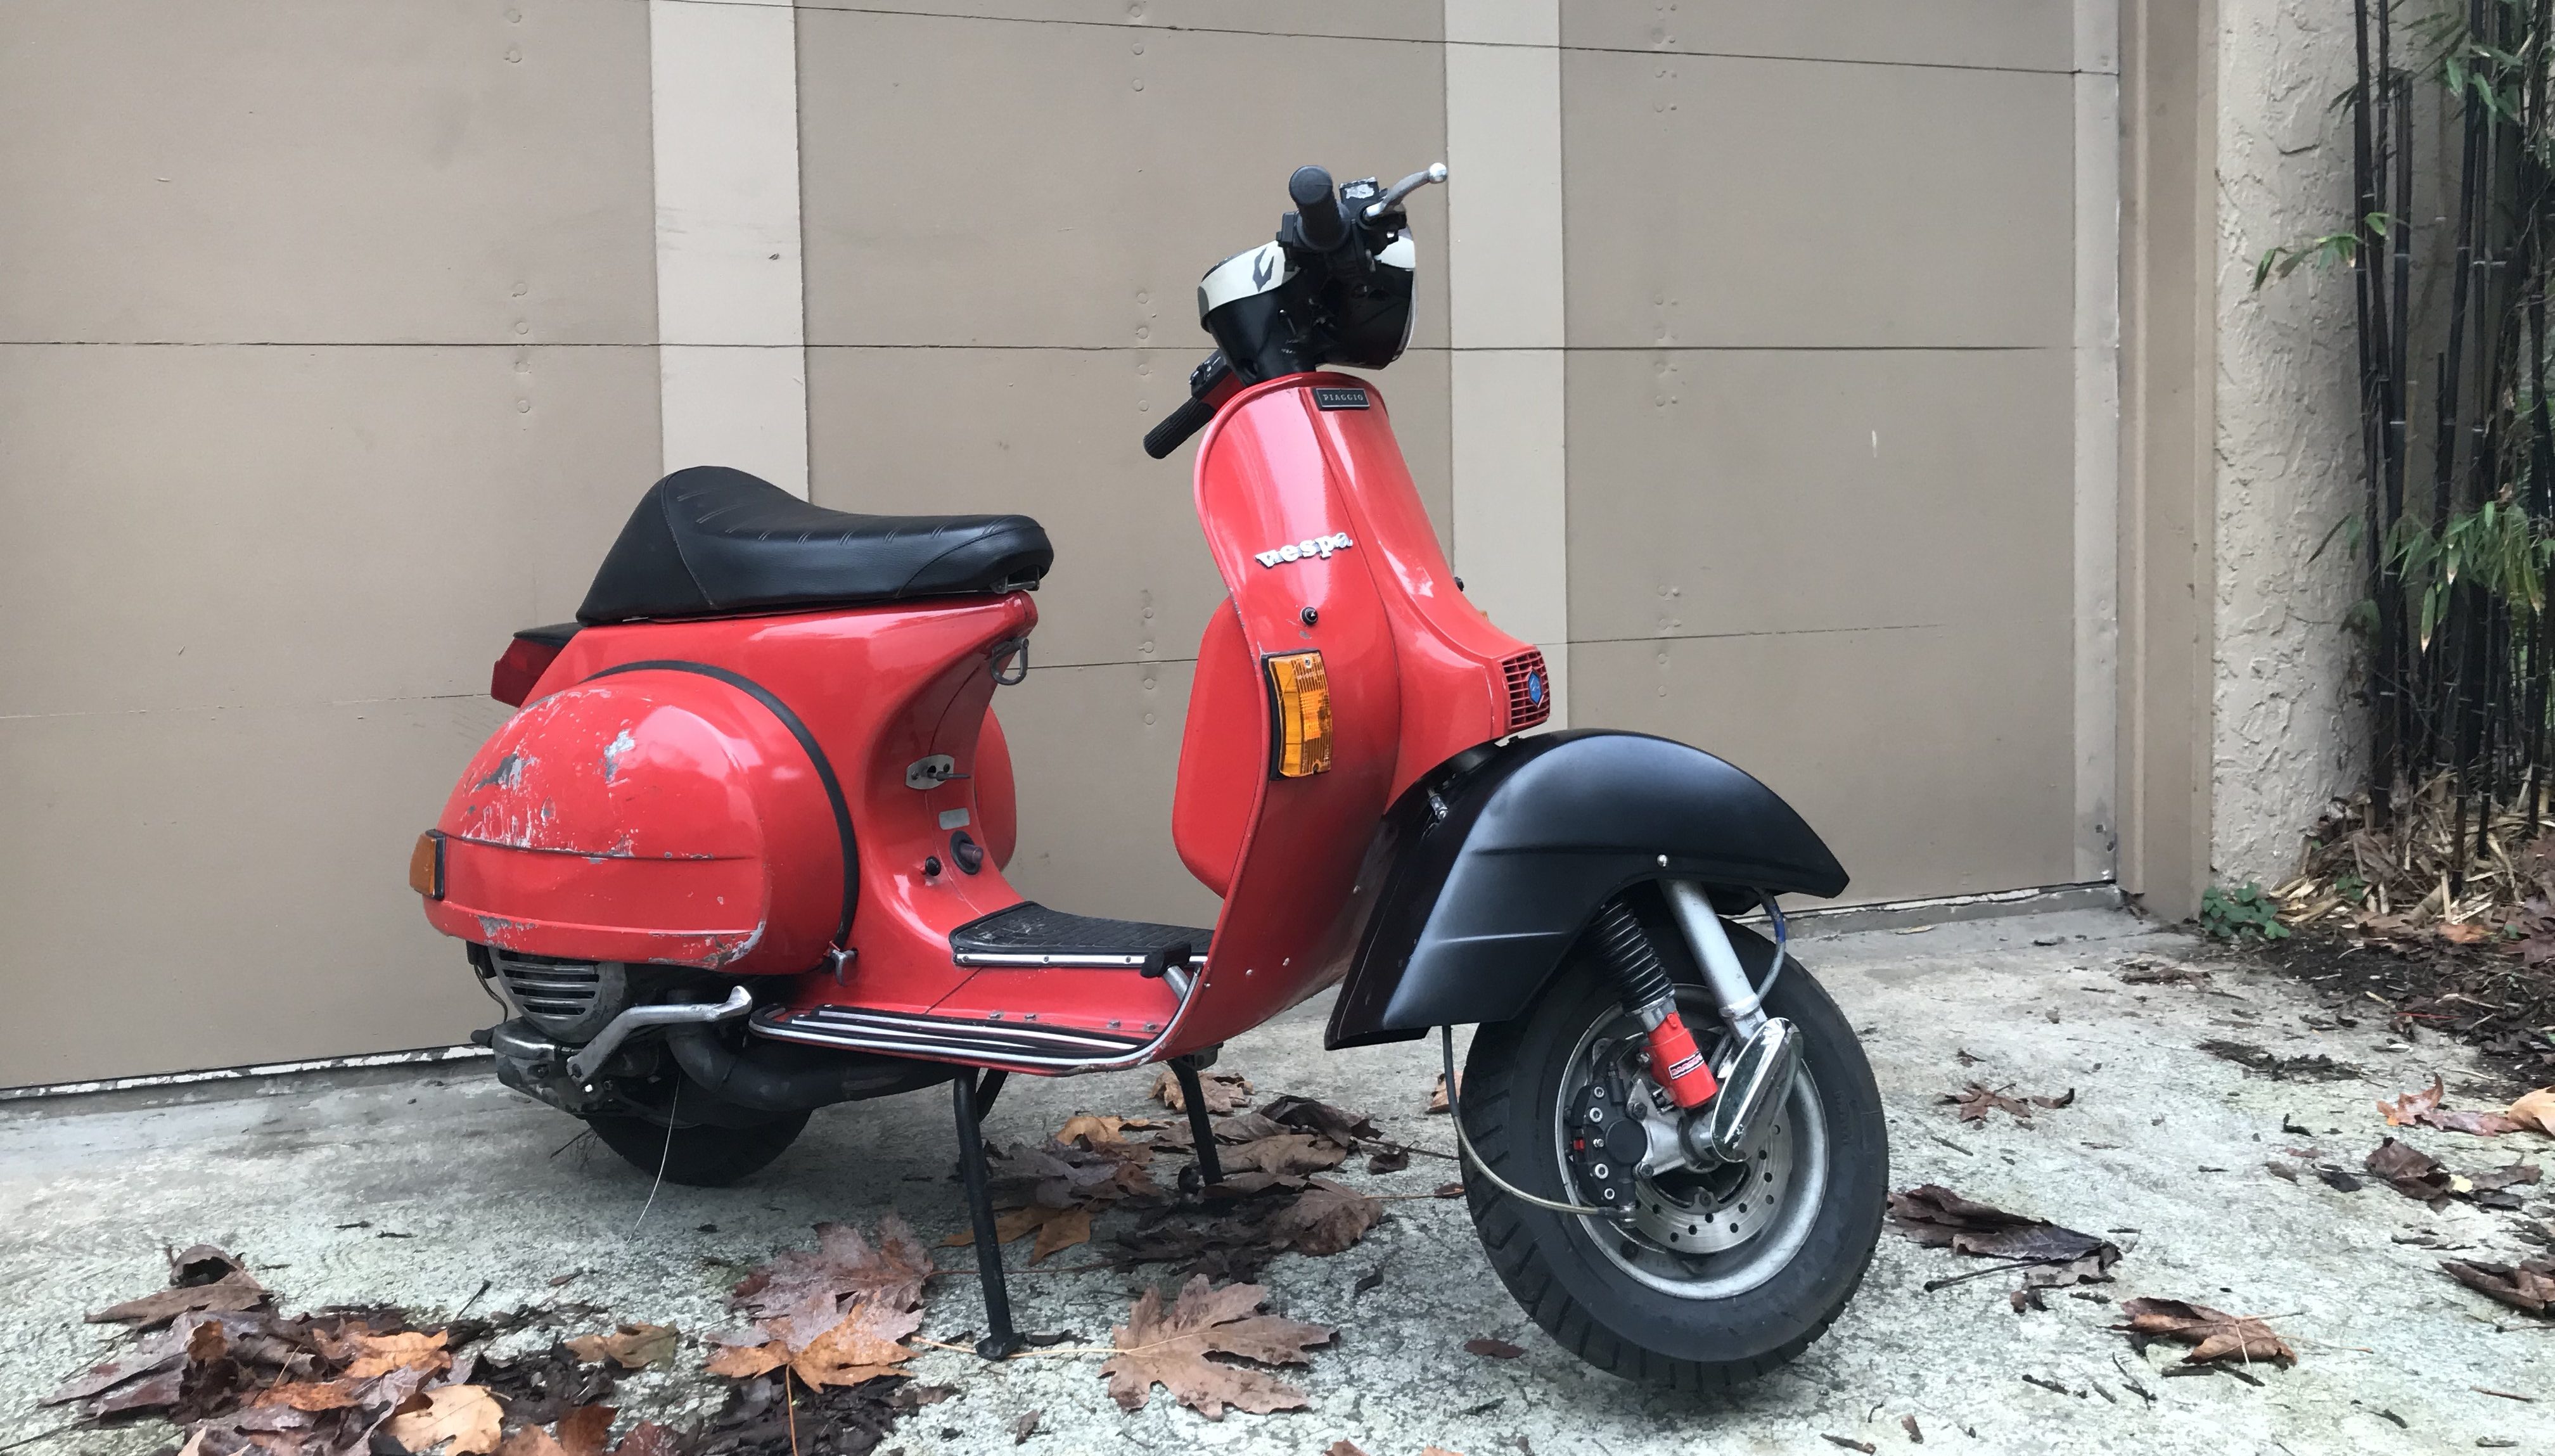
There’s a reason why drum brakes are uncommon to see on current production vehicles these days, hydraulic disk brakes are simply better by every measure other than cost. Here in the United States Vespa only imported a large frame with a disk brake for one year, in 2005. Companies like Grimeca offer “semi-hydraulic” conversion kits that use a cable from your brake lever to go to a master cylinder hidden in the scooter. Besides being expensive, functionally this is a less than perfect solution, you still have all of the cable stretch issues. I really don’t see the need to hide the master cylinder when the disk brake is out for the world to see. It’s also possible to order all of the parts to convert the forks and front brake of your P-series to PX specification, this is also expensive. This is where the Stella (or LML in other parts of the world) conversion comes in. Stella’s were built to the later PX specification, including the front disk brake. Purists can cringe now at the thought of installing Indian made parts on their fine Italian scooter. That said it is the most cost effective way of installing front disk brakes onto a P-series scooter. In the example here I am using the front-end off of a Stella that has an engine with cracked cases (something to do with jumping a roundabout) as a donor. Dead Stella’s normally sell pretty cheap, everyone knows they cost the same to fix as a Vespa, but you will still get the side-eye for not having a ‘real’ Vespa. As an example last year I bought a running, and titled, Stella for $500 that had some small issues. I did this with plans of it being a donor bike for a conversion like this on my Vespa P125X.
Note: Since writing this guide Crimaz has released a master cylinder assembly that bolts onto the stock Vespa handlebar assembly without any modification. This kit would add cost, but will keep the look of originality, and likely speed up the conversion process.
The Downsides
I have no doubt so far this conversion sounds awesome, and really it is, but let’s cover the downsides.
- You have to tear everything apart
As most of you know, there is a lot going on under the handlebar cover. All of the wiring for the headlight and switch gear lives there, along with the throttle cable, shifter cables, clutch cable and front brake cable. All of these things will need to be disconnected to remove and replace the lower handlebar assembly. Disconnecting is easy, but you will need to properly reroute and reconnect everything after putting the Stella handlebar assembly onto the Vespa. It will take more time to get it back together than you will expect. - Aftermarket upgrades might not carry over
If you have already done some work to your Vespa, you might need to leave some of those upgrades behind. Luckily this is limited to drop-bars and some piggy-back front shocks. - There is additional modification required to retain the steering lock
The cut-out on the fork tube for the steering lock is different between the Vespa and the Stella. I will cover how to modify the Stella tube to accommodate the Vespa lock. It is good to note going in this is an additional step that will require cutting tools (an angle grinder or die grinder). - There is modification required to the handlebar assembly require
If you plan on keeping the Vespa P-series handlebar cover you will need to trim it to clear the master cylinder assembly or buy a PX style cover. This process is easy and will also be covered.
Getting Started
At this point I am assuming you know have your Vespa P-series and Stella sitting in the garage or workshop. I recommend also having the Vespa factory shop manual, Haynes service manual (PN: 707), and wiring diagrams handy. This guide will supplement the manuals, mostly highlighting things that will need to be modified for this conversion. I have also added notes to fill in information that was missing from the manuals.
If you are planning on just putting the Vespa front-end onto the Stella make sure to mark the electrical and cables as you go. In this example the Stella is not going to get a new front-end and remain a sad stripped frame. It is a good time to also think about painting the parts that are transferring over. The fork, lower handlebar, and front fender will likely be the list. Order any replacement parts before starting, pay attention to the condition of the front fender as it might be a candidate for replacement. This is also a good time to replace speedometer parts (cable and drive gear), control cables, or any bushings or bearing in the fork assembly, as it will be off the scooter and easier to do. I found it was quicker to replace most of the control cables since many of the ones on the scooter were worn and frayed at the ends. Below is a rough estimate of work times to complete this job, obviously your level of experience will changes these.
Estimated Work Time (Excluding Paint) – 12hrs
Removing Stella Fork Assembly – 2hrs
Removing Vespa Fork Assembly – 2hrs
Installing Stella Fork Assembly onto Vespa – 2hrs
Running wires, cables, brake line, and connecting everything in fork assembly – 5hrs
Adjusting cables and bleeding hydraulic system – 1hrs
Stripping the Stella
As mentioned this Stella is purely a donor, down the road it might receive a new front-end and engine since it has a title, but for now it will be shop ballast. If you are reusing the Stella frame take lots of pictures and use masking tape to mark where wires and cables go and their routing. Refer to the manual to take everything apart.
Notes
- Remove the horncast before you start. There are wires that will need to be disconnected under there.

- One of the wires for the starter button will need to be cut, the connector will not fit out through the hole for the wires.
- Taking the front tire off will help with clearance when removing the fork. It also makes the fork assembly easier to handle when out of a frame.
- The brake hose will need to be disconnected from the bottom at the caliper and dragged back out through the frame. Brake fluid will strip paint, so be careful with this step.
- You will need to lift up the Stella frame to remove the fork assembly. A second set of hands is useful here, but I did do the job solo.

Paint Time
Once the fork is removed it is time to paint the parts being carried over to the Vespa frame. This step can be skipped if you don’t care if parts don’t match and you are going for the VW Harlequin look. These parts will be the fork assembly itself, the front fender, and the lower handlebar assembly. If you want to retain the Vespa fender you will need to drill a hole for the brake line. If the front fender you intend to use is already crash damaged, replacement PX or Stella parts are relatively inexpensive and would be easy to install with the fork already removed. In this example I am going to leave the fork assembly as is, and only paint the fender and lower handlebar assembly. Both parts are going to be painted semi-gloss black, a good color that matches everything. I used a pneumatic random orbital sander and 400 grit sandpaper to prepare the surfaces. Where there were some deep scratches in the paint that I used 220 grit and then followed up with 400 grit to blend it in. You can also hand sand to prepare the surfaces. After sanding the parts were washed and dried. Then three coats of primer and four coats of paint were applied. If you are going to color match the paint, or if you want a high gloss finish wet sanding and buffing would probably be recommend. For semi-gloss black on a daily ridden scooter this process works well for me.

Notes
- Make sure to tape-off the surfaces that the shifter tube and throttle tubes ride on. Failing to do this will require you to strip any paint you apply to these surfaces before reassembly or risk those tubes sticking.
- Give plenty of time for the paint to fully cure, at least overnight. Rushing this will lead tonice fresh paint ruined during reassembly.
Stripping the Vespa
I would hold off on this step until everything from the Stella is ready to be put on (paint ect). Give yourself the time to tear this apart and reassemble in the same session if you can. Waiting a day or weeks (as interrupted projects tend to get back burnered) will lead to foggy memory of what goes where.
Since everything will need to be hooked back up on the Vespa make sure to make good notes about routing of cables and wires. You cannot have too many notes on this, take pictures, use masking tape stuck to wires and cable with notes, too much is not enough (see above). As you probably discovered during the stripping of the Stella, there are many connectors that need to be removed via the space for the steering tube itself. They will need to be reinstalled the in the same fashion. Plan ahead, all of the notes and experience from stripping the Stella will apply here.
I set the Vespa on the edge of a scooter service workbench (click here for the instructions to build one) in a manner that allowed me to drop out the fork without lifting the frame. This will help in reassembly.
Fork Tube Difference
In the “Downsides” section of this I mentioned the difference in the cutout for the steering lock. Here is a side by side picture of that difference.

Stella fork on the left with a half moon cut and Vespa P200E fork on the right with a slot.
If you want to retain the use of the steering lock, you will need to add a cut-out on the Stella fork tube that mimics that of the Vespa P-series fork. If this is going into a racing application, or you don’t use your steering lock (I still have Triumph based fears of separate steering locks) skip this step. In this case this step is being skipped.
Reassembly
 This is going to be a slow process, like reassembly always it. During teardown everything was being removed, and nothing required adjustments. The process is going to be largely what you did above in reverse.
Install the front fender on the fork, re-lube the upper and lower bearings, and install the fork assembly into the frame. Tighten the locking nut to spec.
Position the lower handlebar assembly onto the top of the fork assembly. With the lower handlebar loosely resting on the fork tube, run the electrical wiring and cable to their correct locations. Having the ability to remove or reposition the lower handlebar make this process much easier. Just remember to bolt the handlebar into position once all of the wires and cables have been routed.
Brake line routing:
- If you are re-using the Stella brake line, the clutch-side frame cut-out will need to be opened up

Note the left side hole for the cables has been enlarged.
slightly to allow the brake line to run without binding. It is easiest to compare the cutout on the Stella with that of the Vespa and modify the Vespa to match. I used a carbide burr in a pneumatic die grinder to removed the required metal and followed up with a mill bastard file to clean it up. I have read that some aftermarket brake lines have a smaller outside diameter and this trimming isn’t necessary, but I cannot confirm this firsthand.
- The brake line will need to be run from the top down through the frame.
- A clamp on top of fender will keep the brake line positioned correctly, the Stella clamp can be reused. Keep this clamp loose until both ends of the brake line are connected and appropriate slack is spread throughout the line.
- Use new crush washers on the banjo bolt connecting the brake line to the brake caliper.

Brake switch wiring – This will need to be extended, the stock wiring harness had a sensor off of the brake cable, the hydraulic brake master cylinder has the brake light switch on the master cylinder assembly. The wires will need to be extended about 6.” When you have the Stella lower handlebar assembly mounted on the scooter you will see where the stock wiring ends and where you needs to go.
Handlebar cover trimming – To reuse the stock P-series handlebar cover you will need to cut this cover to allow the brake line, and brake light switch wiring to run through. I placed the cover over and made marks on where the cut needs to be and made the necessary clearance. You could also copy the cut-out on the Stella cover and also reuse the rubber gasket. Personally I like the look of a custom clearanced hole. To make the cut-out I used the same carbide burr that I use for porting work mounted on a die grinder. Since this is plastic many other tools could be used.

Modified cover
Horncast trimming – The clutch-side of the lower horncast need to be clearanced to allow the hydraulic brake-line. See the picture for the difference, a Stella horncast is handy to have on hand for the process. You can also just trim until there is enough clearance to function without binding. I used a flapper wheel on a 4-1/2” angle grinder to remove this material. Again this is soft plastic so a flapper wheel can be substituted by many other tools.

Modified P200E horncast
Final Connections and Adjustments -At this point the work to be done will be the same as anytime the lower handlebar was removed. All of the cables will need to be adjusted, the front brake will need to be bleed, and all of the electrical connections will need to be made. Ensure all of the electrical wires, cables, and brake line move freely without becoming tight or binding.

Stock Stella brake line clip
In Closing
This is one of those time consuming jobs that doesn’t involve all that much mechanical work. Akin to swapping an engine in an old Chevy pick-up truck, the bulk of the time is spent reconnecting and adjusting everything after the engine is bolted in place, not in actually bolting it into place. The swap itself was not mechanically challenging, but there was a lot of tuning and adjusting required. After feeding the wires, cables and front hydraulic brake line, I had to make adjustments to keep everything from binding. Even when routed correctly there is slack that needs to be in these components, and only through test steering and adjusting can it be done. Simply put there isn’t a shortcut to spending the time to check and recheck that the steering isn’t binding as you go. I cannot stress enough having detailed notes and pictures of how everything is run though the frame between the handlebar assembly and the frame. I was confident in my notes, and still referred to the other Stella and Vespa P200E in my garage to confirm things. There will likely also be previously unknown faulty parts that you will come across. In this case the right-hand switch pod was damaged, as well as a wire pulled out of the left-hand switch pod.
With all of that said, this is worthwhile project. Daily ridden or scooters with tuned engines will benefit from having the increased braking capabilities. I look forward to performing this upgrade to my camouflage painted Vespa P125X. This is not the only way to do this conversion, but it worked well for me. I hope this guide has proven useful to you, please let me know if I missed something important or if you have any questions about the process.
Good luck out there, have fun, and Godspeed.
-Eric Archambault
