I have been spoiled in the past using Handy brand pneumatic motorcycle lifts while working at motorcycle shops. Not having to lie on a cold concrete floor during the winter months, or the dirty 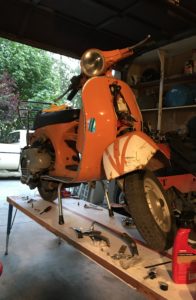 floor anytime of the year, and having a workspace where it is most convenient is easy to get used to. Quite often I would end up also using a rolling stool to slide back and forth from the bench and the rollaway toolbox to grab additional tools as needed. No more sitting down on the floor, only to remember the tool I forgot, then getting back up to go to the toolbox and get it. Harbor Freight does offer a cheaper version motorcycle lift, but to be honest I always feel dirty walking into those stores, and the lifts have left me less than impressed. I have told myself that I will someday I will buy a Handy brand lift, but I am not ready to drop the $1,100.00 to make that happen yet. I also was not ready to keep working on the floor with my ever growing list of scooter projects. So what follows is a guide to construct an easy to build, very cheap (less than $40.00 in materials), adjustable height scooter work bench.
Required Materials:
Set of adjustable height school / office table legs
Used Solid Core Exterior Door
1/2” Lag Bolts
Required Tools:
Tape measure
Circular Saw
Drill
Step One:
First you’ll need to source the components. I found the door and legs at the local Second Use store, most cities have a building supply recycler these days. If you do not have one locally, or they lack what you need check Craigslist. I chose solid core exterior doors since they are 1-3/4” thick, and in many cases constructed the same way as a butcher block workbench top. You’ll want to ensure the door you choose is tall enough for you use. The wheelbase of your scooter is import to keep in mind, but do not forget that you’ll need enough length to also roll the scooter onto the centerstand. Both of the benches I have built are 75”-78” in length. That works out to just over 6’ long or 190cm for you metric types. The adjustable table legs might be a little tougher to find. Don’t discount buying a table with them to rob the legs off of. I have found these classic school or office tables to sell for under $50 on the used market. Don’t worry about the dimensions of the table top, since that will go away. The lag bolts I just bought at the hardware store.
Step Two:
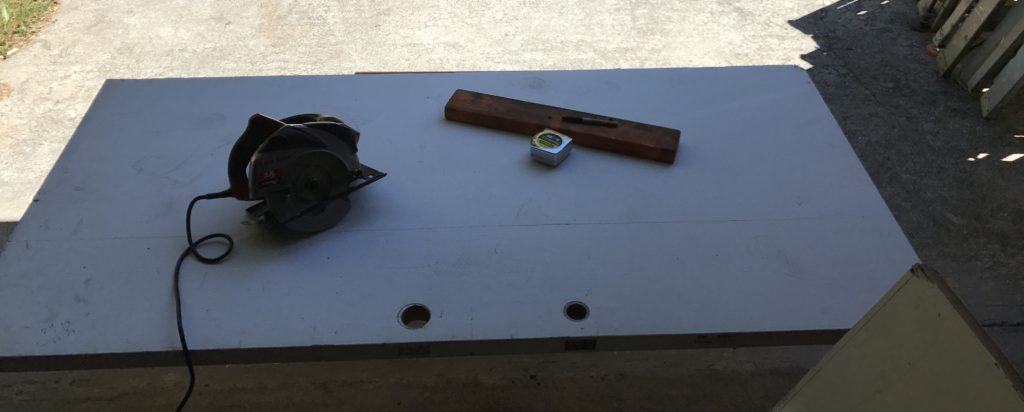
Cut the door to the dimensions that you want it to be. As I mentioned above I chose the length of 75.” For the width I chose 24” which worked out to a couple inches wider than either my Sprint or P-series Vespa’s center stands. Before you cut make sure the “discard” side of the door has the knob and lock cut-outs. There is no need to have extra holes on your bench. Double check your measurements, then cut the excess material off of the door.
Step Three:
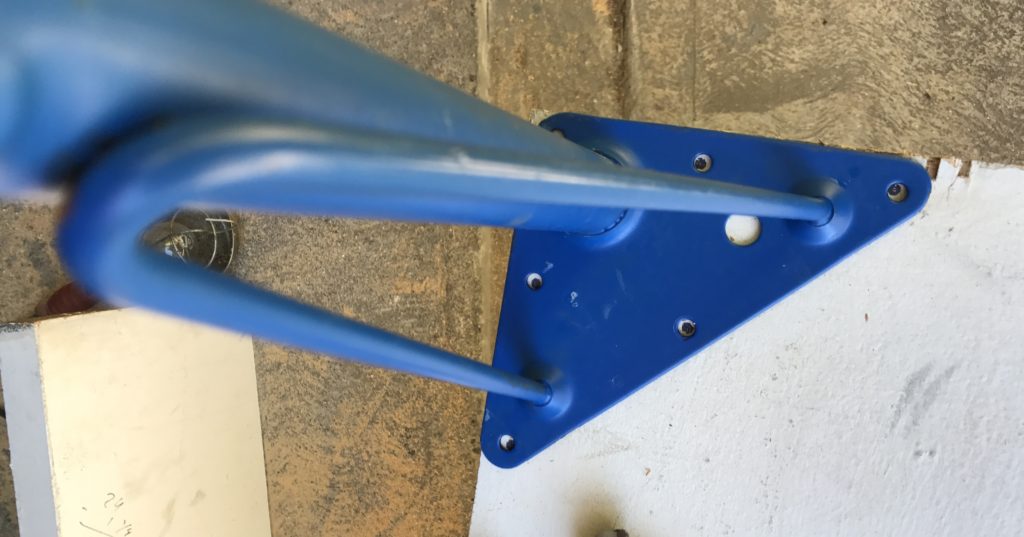
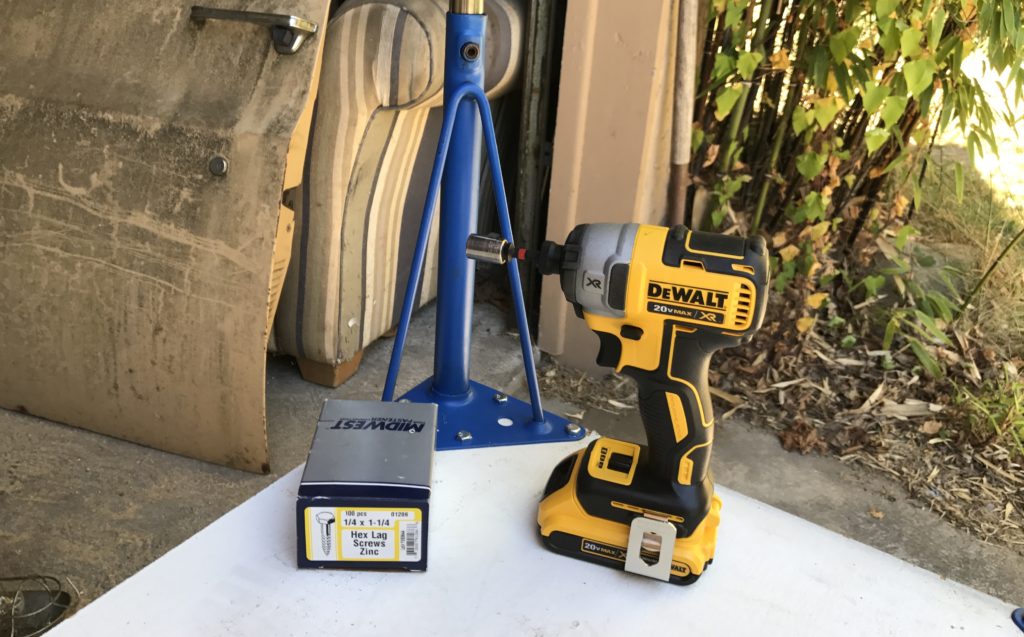
Now that you have a slab of wood that is the desired size for your workbench. Flip it over so the better looking side, or your desired “top” side, is facing down. Using the legs mark where your pilot holes for the lag bolts will go. For 1/2” lag bolts you’ll need to pre-drill the holes with a 5/16” drill bit. If you want to paint or clean the legs, now is the time, before they are installed. I used an electric impact driver to install the lag bolts to secure the legs, you can also use a ratchet to do this.
Step Four (Optional):
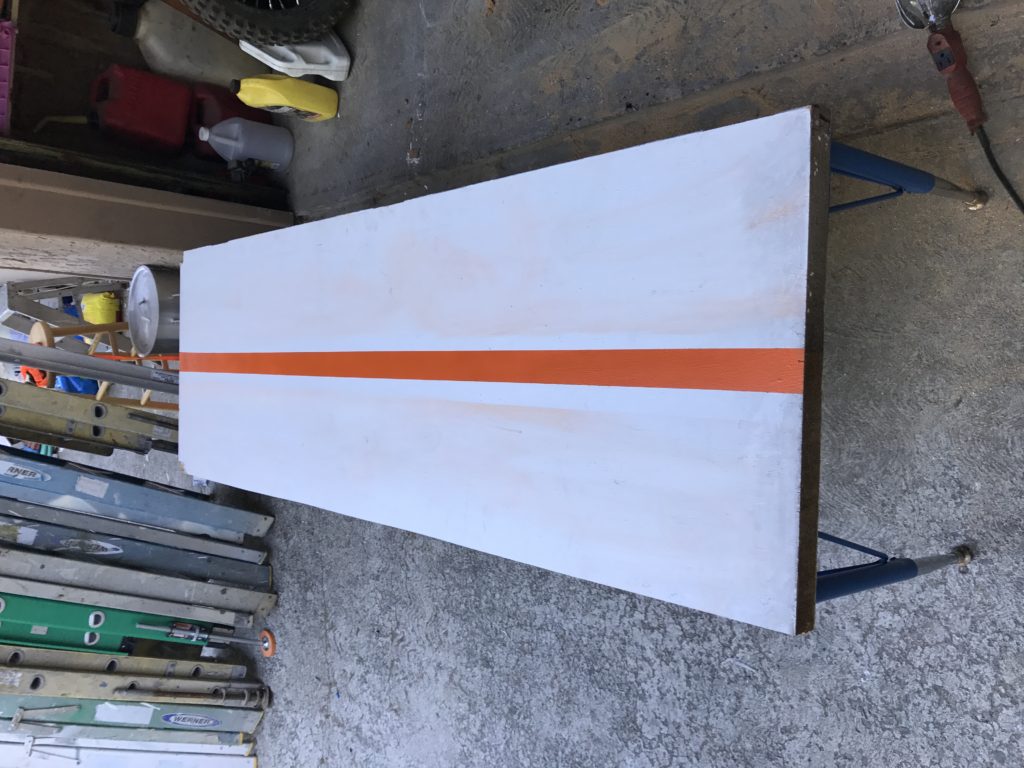
The final step is to paint a center line on the bench. While this isn’t required, I have found it to be very handy to make sure the scooter is centered and the center stand will be alined within the confines of the bench. I masked of the bench to leave a 2” strip down the center, then applied orange spray paint. The color really doesn’t matter, that was just what I had on hand.
Notes:
I am planning on adding a strip of wood on the end of workbench to prevent the scooter from getting pushed too far and going off of the end. I also have plans to add a removable tire chock and tie-down points. This will allow the scooter to be secured, then jacked up higher than the centerstand lifts it for tire changes and engine removal.
Final Thoughts
This is by no means the only, or even the best way to build a scooter servicing workbench. I think this basic formula can be tweaked to perfection, the above “to do” things I mentioned, and maybe a stainless steel or some sort of tile top could make it really amazing. Time will tell how well my first iteration will hold up, but for the initial cost outlay I think this is a winning format. Prior to going this route I had sketched out building a fixed height bench using 2×4’s and plywood, as well as trying to find a workbench to cut the legs down on. Off-the-shelf 24″x72″ workbenches tended to have a backsplash on one-side (which would get in the way), and were less than an inch thick, while still having legs that needed to be cut down and costing north of $200.00. The above was the best option I found price wise, and gave the option of adjustable height. On the two scooter service benches I built using this method, the workbench top can be adjusted from 22” to 30.” While this cannot be adjusted with the scooter on it, it does add to the versatility of the bench, since I can bring it up to standard workbench height if I need more space for other projects. I noticed I failed to mention you’ll also need a loading ramp to get the scooter onto the workbench. Since the workbench top is lower than most pick-up truck beds, and you can walk alongside the scooter all the way until it is on the bench, it is an easy process.
I have already enjoyed the more convenient working environment provided by having the scooter I’m working on off of the ground in the last few months. Even simple tasks like changing the oil, performing a basic tune -up, and tire changes are more comfortable and easier. The fact the gained storage space under the bench provides room for removed cowls, seats, and wheels is also a bonus I never thought of when starting this project. I hope this has given you some ideas to also improve your scooter maintenance times. Good luck out there, have fun, and Godspeed.
-Eric Archambault

